How-to: Halloween Glitter House
Halloween Glitter House
Hi everyone,
Today we'd like to share with you a Spooky Hallowwen Glitter house we made using Tim Holtz dies. It's 25cm x 11,5cm. The base is 15x15cm. We had a lot of fun making this and we hope you like it!
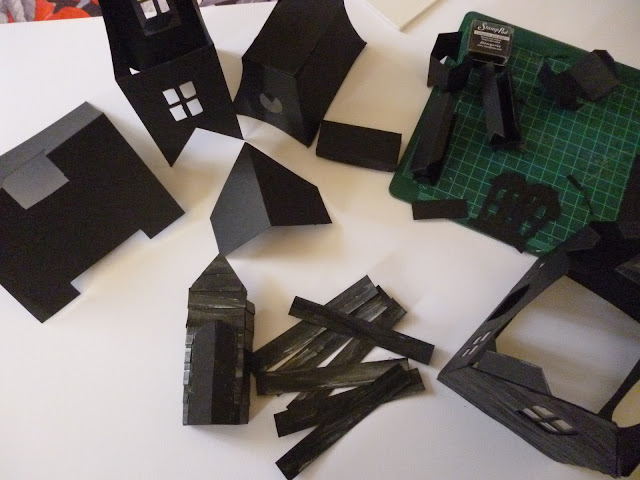
Well, as you can see we cut out all my original pieces with black cardstock as we wanted a clean look. Then we assembled the bottom of the house together so we could glue the panelling on.
Then we started with my panelling for the house. we used black acrylic paint ( Vivace Stamperia) and metallic silver paint on black cardboard, we painted it to look like aged wood.
Then we cut the painted cardstock in 1,5cm strips and then we glued the strips overlapping
eachother on another cardstock.
The cut strips on the template which then we glued on the house, this is the back view.
This is the front view, which then I cut around to form the shape of the die cut. The panelling then will be glued on the original template. This makes the house so sturdy!
The glued piece of panelling on the original cardstock template.
The chimneys were started next and we wanted them to look like they were made of grey stone so we first painted them in siver metallic paint, we cut up some small rectangular pieces of cardstock and glued them around the chimneys. We painted them in various shades of brown and grey to look like stone.
The glittered roof of the house. We just covered the roof with glue and sprinkled black glitter on top!
These are our air- dry clay pumpkins and sign we made to decorate the front of the house.
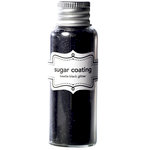
Doodlebug Design - Sugar Coating Glitter - Beetle Black
Scrapbook.com
You need both dies to make the Halloween House
Scrapbook.com
You need both dies to make the Halloween House


Comments
Post a Comment